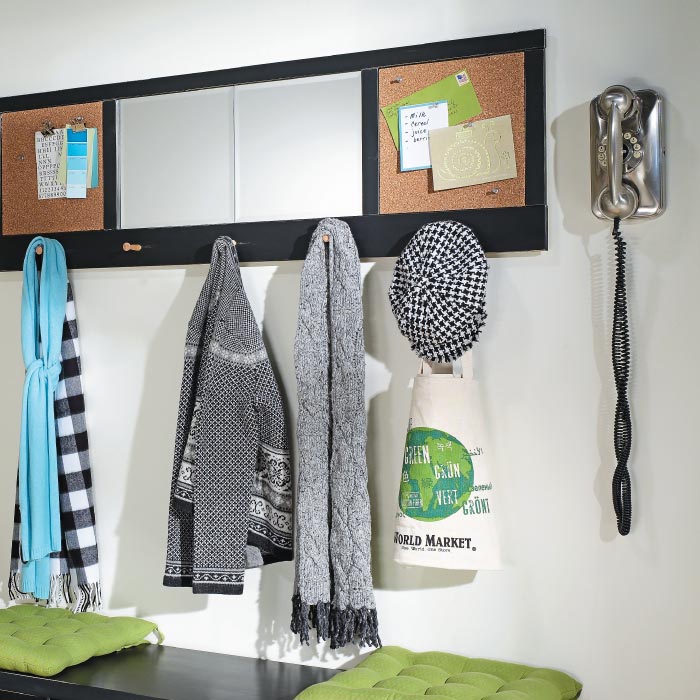
It doesn’t take long for an entryway to become cluttered. This simple-to-assemble entry organizer can help you solve those storage challenges.
Gather Your Materials. To make one of your own, you’ll need some plywood, 1/2”-thick boards to make a frame, mirror tiles, cork tiles, and wooden pegs.
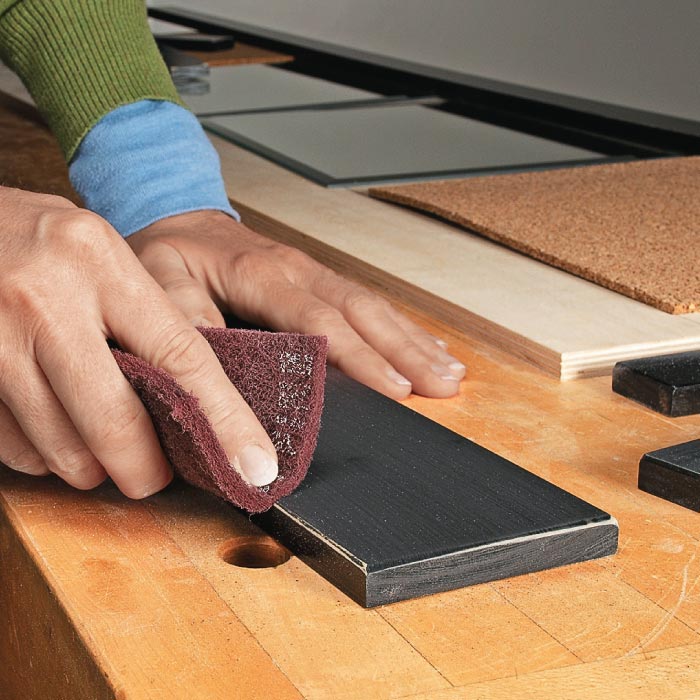
Start by cutting the plywood backer to your desired size. Then cut 1/2”-thick boards to make two rails and four stiles. (Note: Our frame pieces were cut to overhang the plywood backer by 1/2” all around.)
Prep & Paint. Drill 1/2” holes to accommodate the wooden pegs. Next, paint the rails and stiles, and then distress them with an abrasive pad (left).
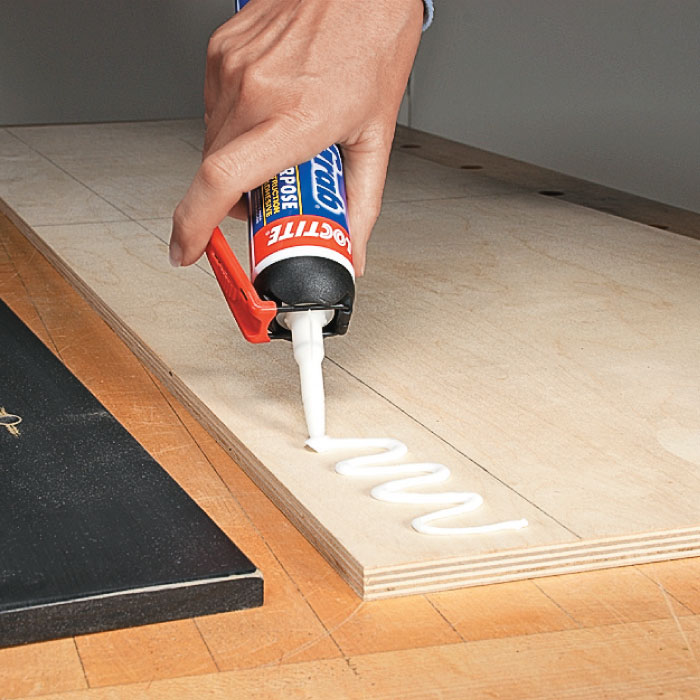
Mark a line on the backer to indicate where you’ll glue the bottom rail. (Remember to account for the 1/2” overhang.) Then attach the rail with construction adhesive.
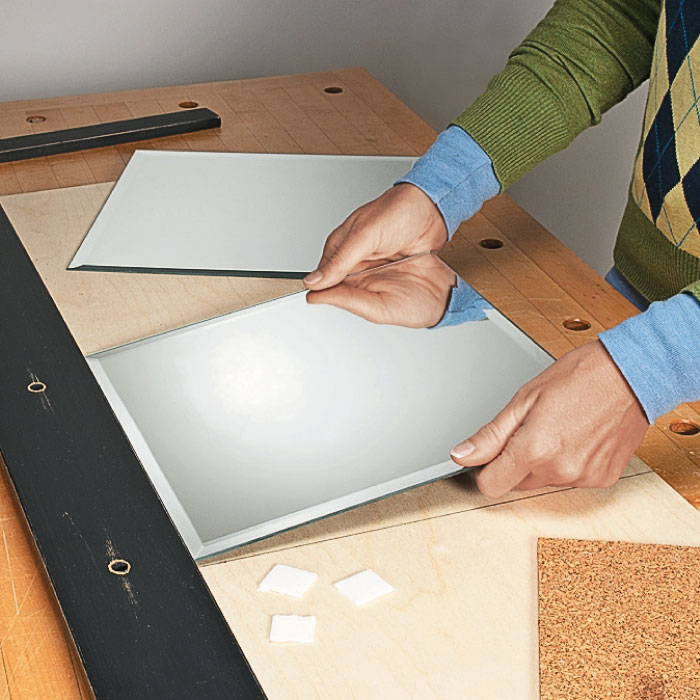
The key to correct assembly is to build from the inside out, so mark a center line on the backer and position a mirror tile on either side of it. Use adhesive squares to attach the mirrors.
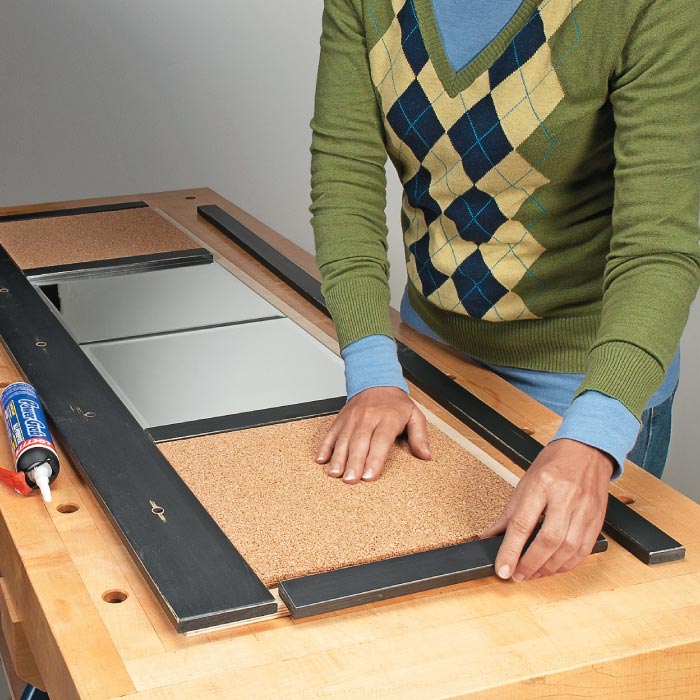
Use construction adhesive to attach the rails and stiles to the backer as you work out from the center. The cork squares get attached to the backer with adhesive squares. Then just glue the pegs in their holes, and attach two hangers to the back for mounting it to the wall.
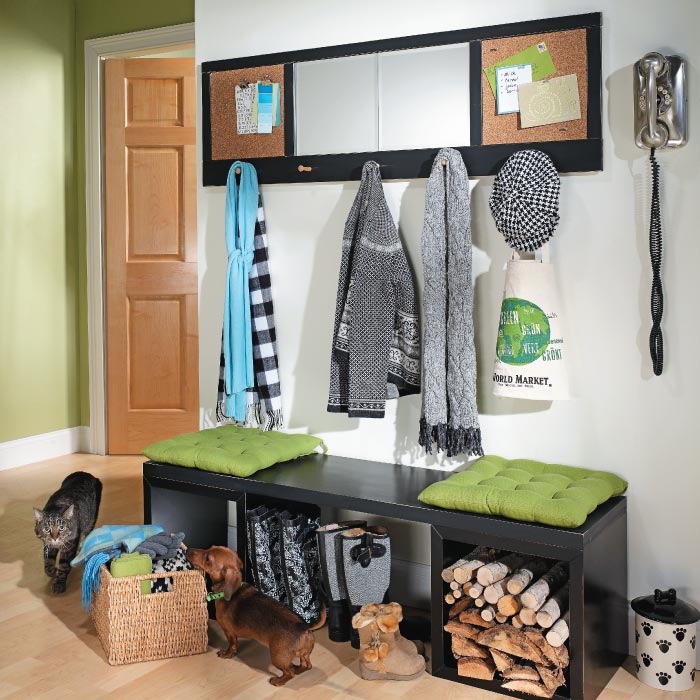
This project is easy to customize to fit your space and your storage needs. You can also change its look by using a different finish or by incorporating message boards and metal hooks.