Whether you’re a beginning DIYer or an avid woodworker, you can achieve a beautiful, professional-looking finish. The secret lies in understanding that wood finishing is a step-by-step process that requires a common-sense approach.
From Prep to Perfection. Your success will be determined by the care you take in preparing the wood surface to accept finish and by mastering basic techniques. Continue through the slideshow to learn some of our favorite finishing tips.
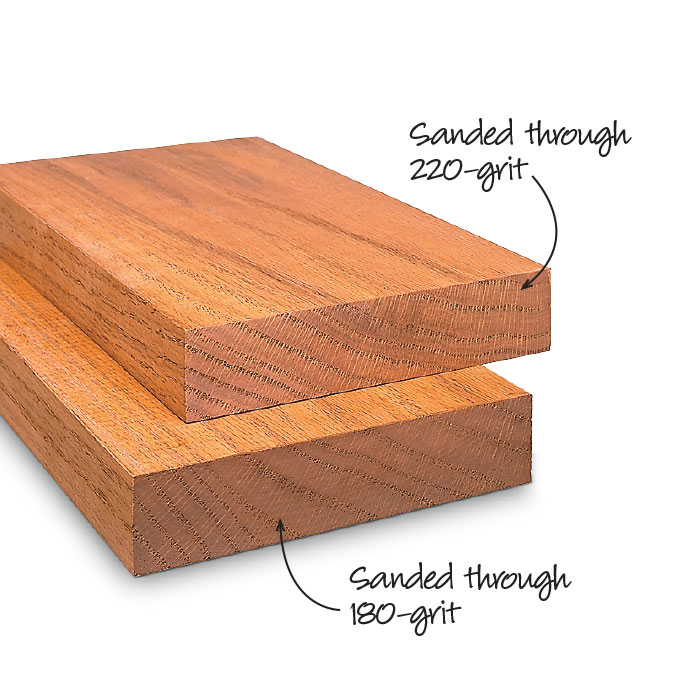
A good finish begins with sanding. Use sandpaper with a grit that’s no coarser than needed – usually 120 for surfaced boards and 150 for plywood. Then work your way through each grit (120, 150, 180, 220) without skipping any grits.
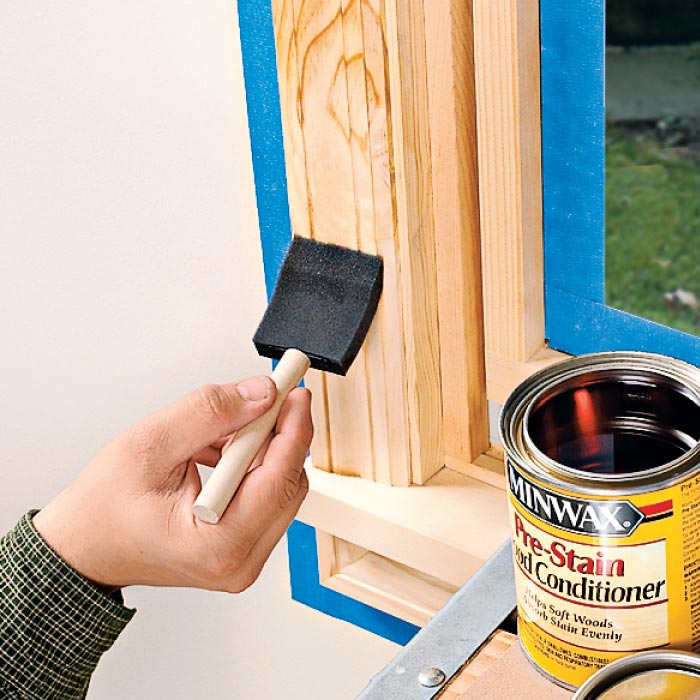
Soft woods, such as pine, often absorb stain unevenly. For problematic woods, applying a pre-stain wood conditioner will help stain penetrate more evenly. The conditioner works by partially sealing the wood’s pores to prevent over-absorption of stain.
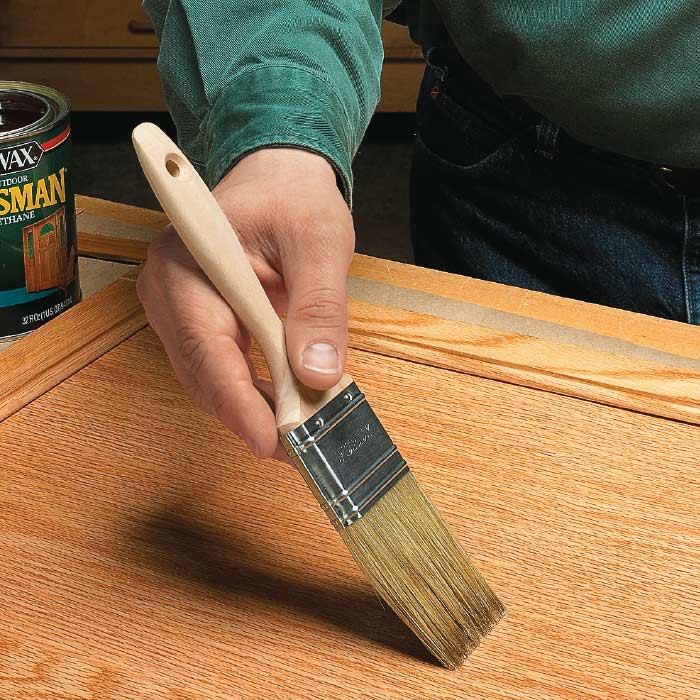
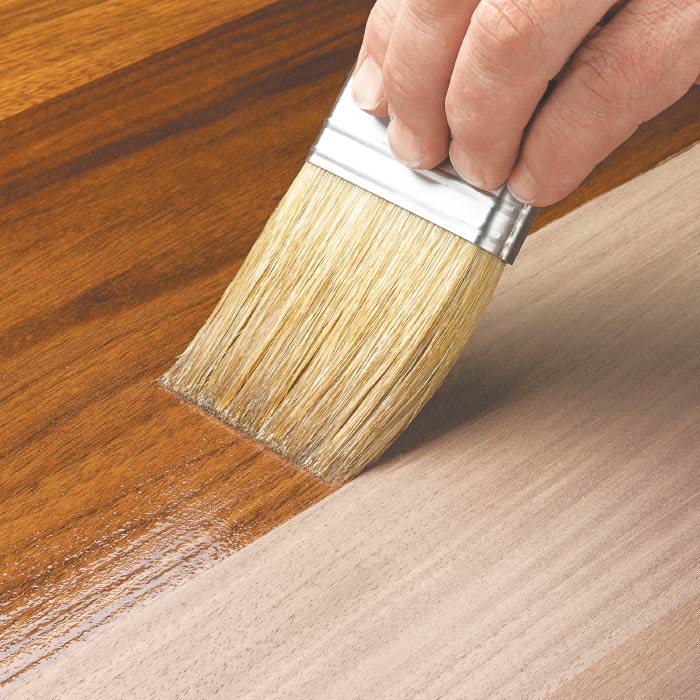
You’ll want to brush on the finish with the grain, but there’s a little more to it than that. Hold the brush at about a 45-degree angle with the surface of the wood, so it brushes the finish smooth as you apply it. Then lightly run the bristles over the length of the just-finished section to remove evidence of brush strokes and break any bubbles that appear.
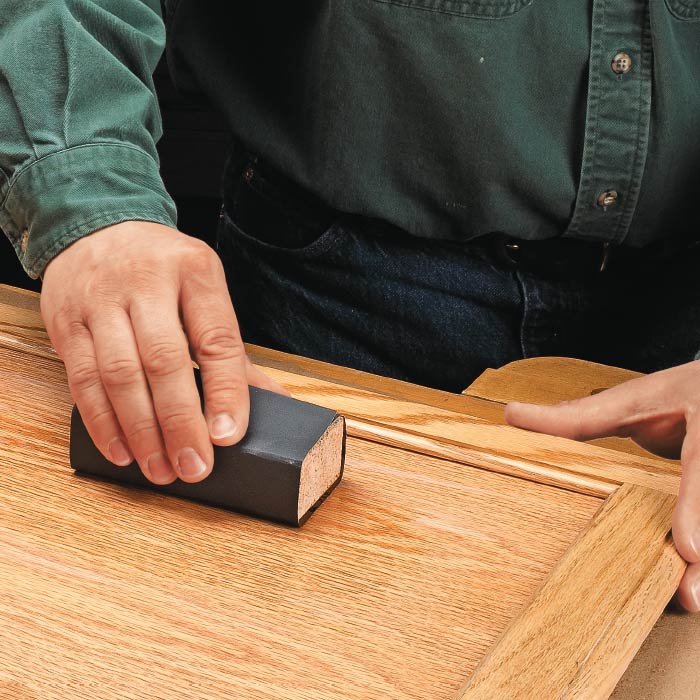
Sanding between coats of stain is important for a couple of reasons. First, it removes any dust particles that have settled on the finish. And second, it creates tiny scratches that allow the second coat of finish to adhere better. Use 220-grit sandpaper or a Scotch-Brite pad for this step.
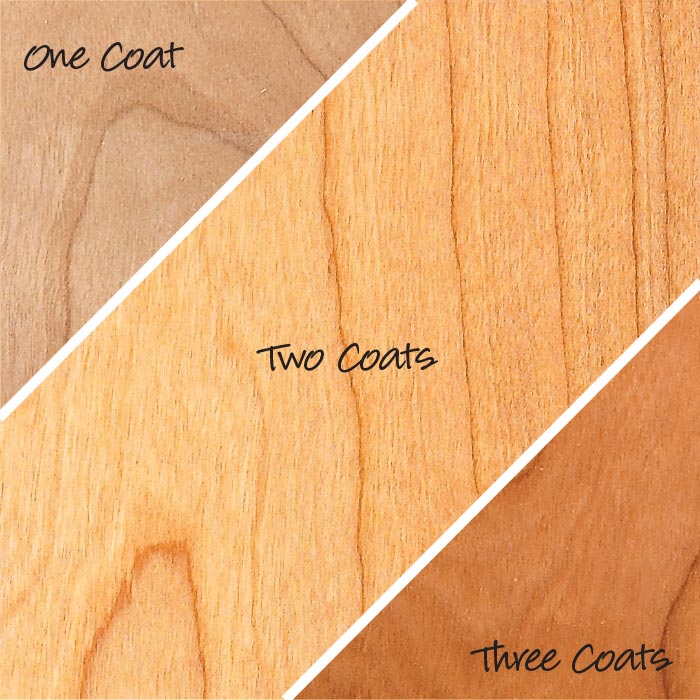
Most cans of finish instruct you to apply at least two coats, but we recommend taking the time to put on three. It provides extra protection and adds richness to the look of the finished piece.