
Metallic foils offer a simple and affordable way to add the lustrous look of metal to any paintable surface. The foil offers a great way to update any piece, whether you want to cover the entire surface or just accent a few select portions.
Application Supplies. The application process requires a few specific materials, which are available online. You’ll need size, stain, extender, and clear seal. The foil itself is available in an amazing array of hues, from traditional metallics to bright, fun shades. We’ll walk you through the basic application steps.
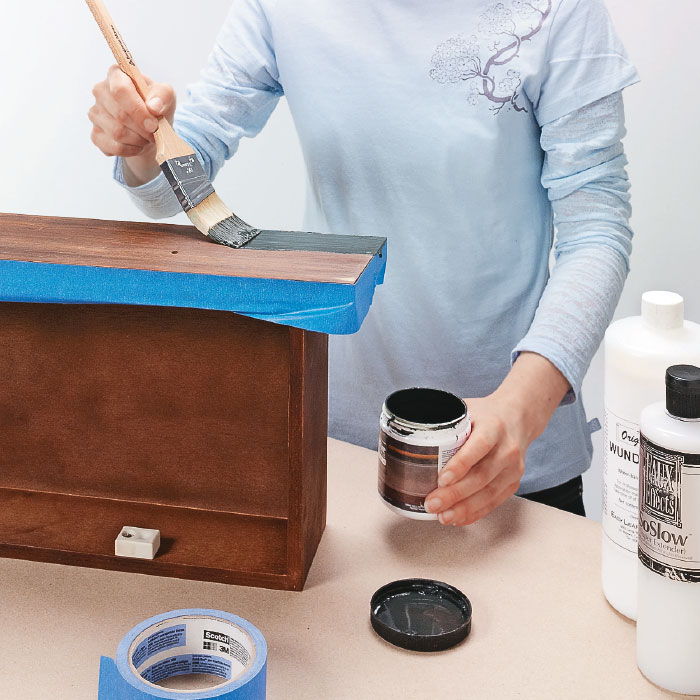
First, prep the surface of your piece by sanding it with fine sandpaper and wiping off the residue. Then apply a coat of black or any other color that’s deeper than your foil’s color.
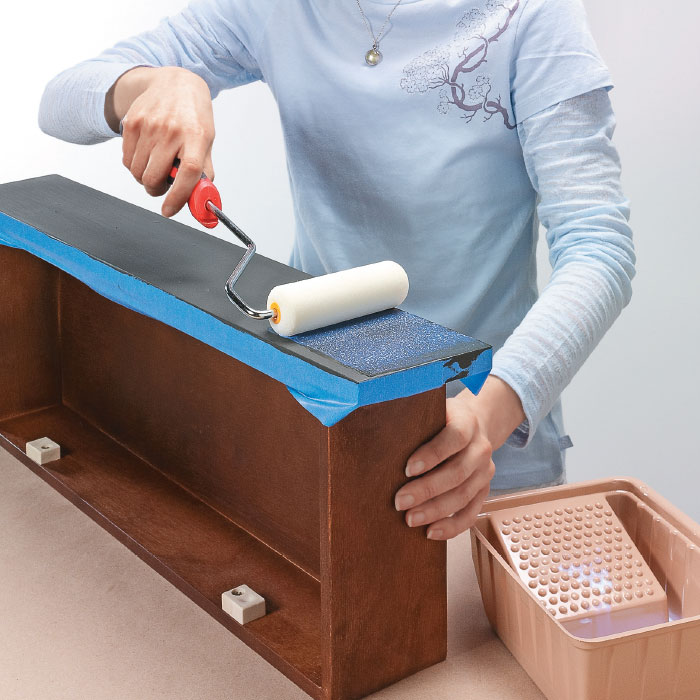
When the base coat is dry, you can apply the water-based size. It goes on milky but dries clear in 15 to 30 minutes. It remains tacky even when dry, which lets the foil transfer from its backing to your project’s surface.
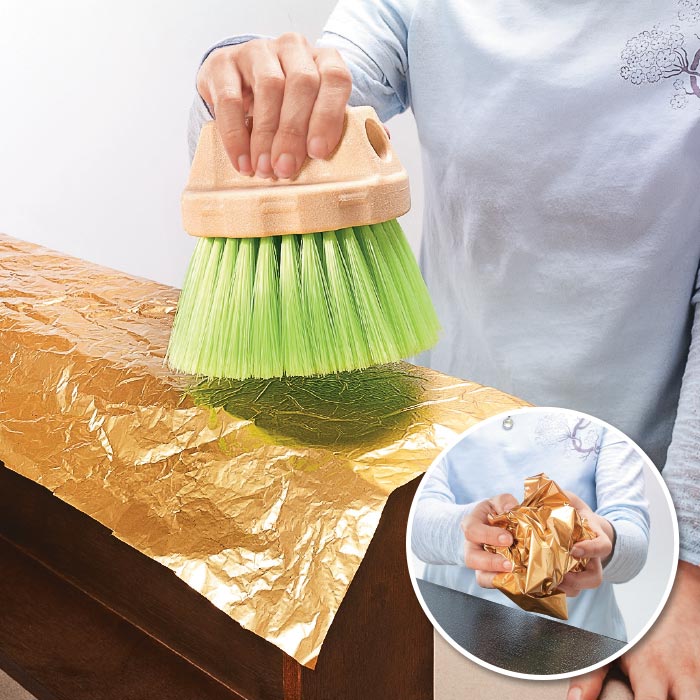
Crumple up a sheet of foil into a loose ball (inset), and then flatten it. Then lightly tap the sheet with a stippler brush to transfer the foil. Vary your strokes and pressure to create a random effect.
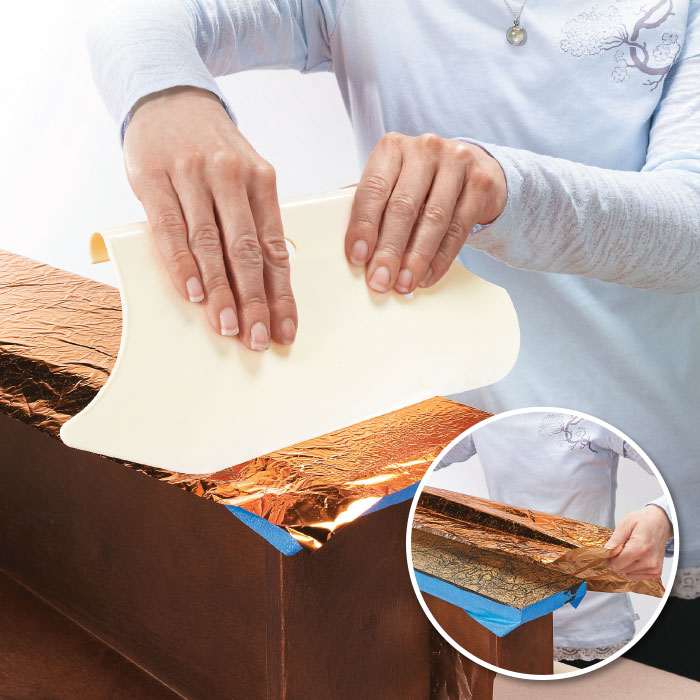
Leave some areas of the size exposed, so the second layer of foil can adhere. Lay this color right on top (inset), and then apply it with a smoother blade as shown here. This type of tool will transfer the metallic foil more aggressively.
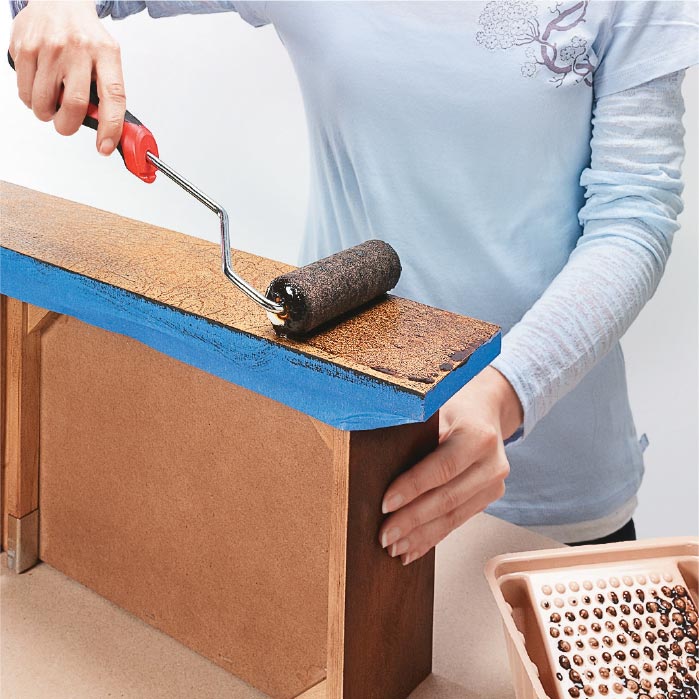
Roll on a coat of gel stain that’s been thinned 50 percent with extender. The extender increases the stain’s translucency and open time. Then wipe off the stain with a soft cloth. The stain adds warmth to the finish and gives it a professional look.