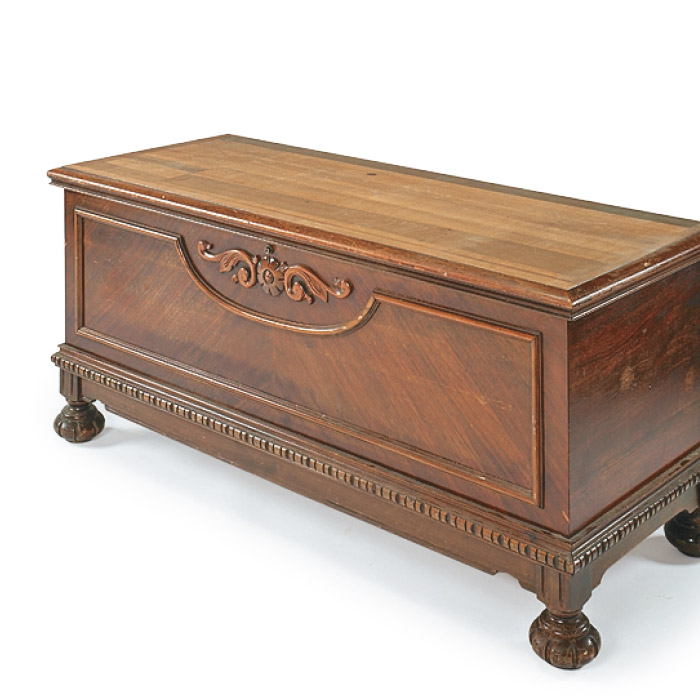
There’s something especially satisfying about refreshing a piece of old furniture. It’s best to leave rare antique care to the professionals, but more common pieces like this chest (seen here before the makeover) can benefit from a few DIY repairs.
The Action Plan. It’s often best to take the path of least resistance, though, especially if a piece has sentimental value. We decided to simply restore the finish of this chest to keep the original patina intact.
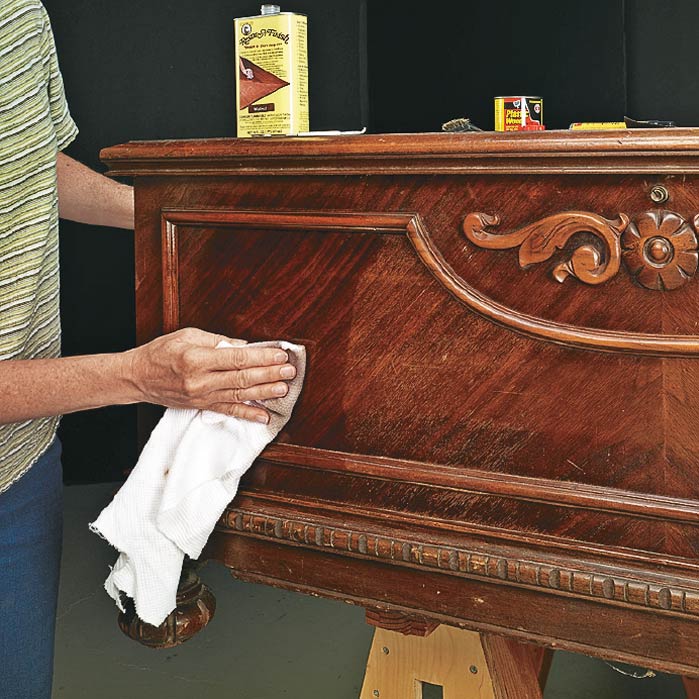
Start by rubbing Restor-A-Finish evenly across the surface of the piece. Instead of dissolving the finish, the product simply enhances it. It made minor imperfections on the chest virtually disappear.
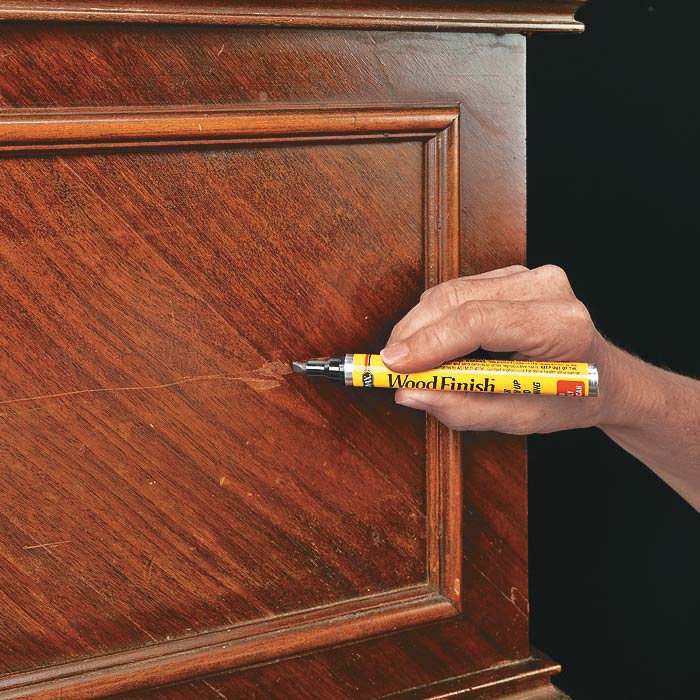
For deeper scratches that have gone through the varnish layer, you can then use a stain marker. Using a light touch, blend the stain into the surrounding area with a cloth. Experiment in an inconspicuous place first – you might need to blend two different colors to get just the right shade.
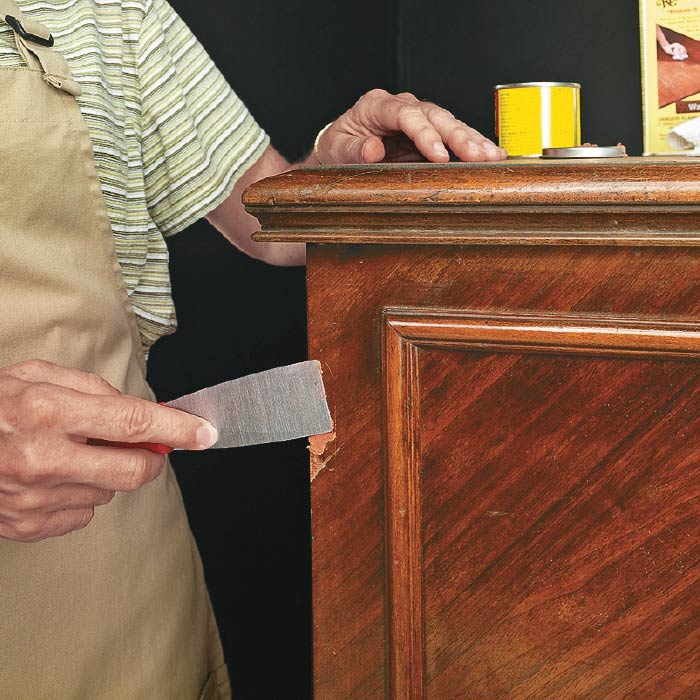
Patch chips and gouges in the veneer with a stainable wood filler. When the filler is dry, sand the repaired spots carefully, and touch them up with a stain marker.
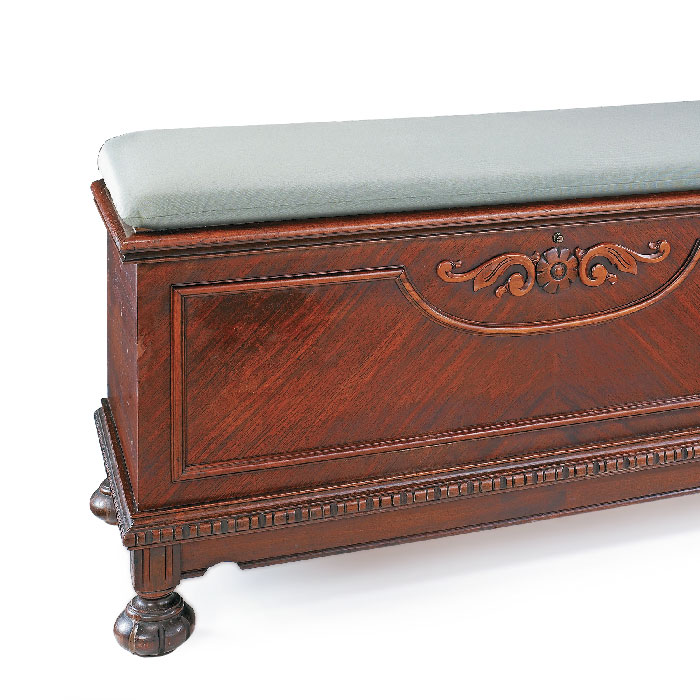
Rather than veneer the lid, which would require tricky stain matching, we bought a new pad for the top. This allows the chest to pull double-duty as a bench. With its timeless style and unique history, there’s hope for this chest again.