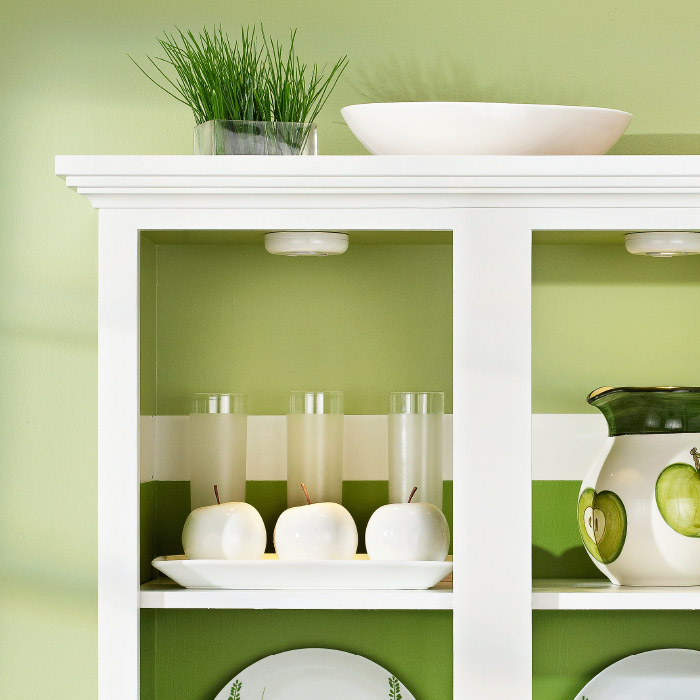
You don’t need to spend a fortune to give your kitchen a new look. Instead, try giving your cabinets a fresh face by adding some strips of trim and a fresh painted finish.
Amazing Makeover. Before you begin, select the trim that you’d like to add to your cabinets. To create an even more dramatic look, you could build up an additional layer to “cap” the cabinets.
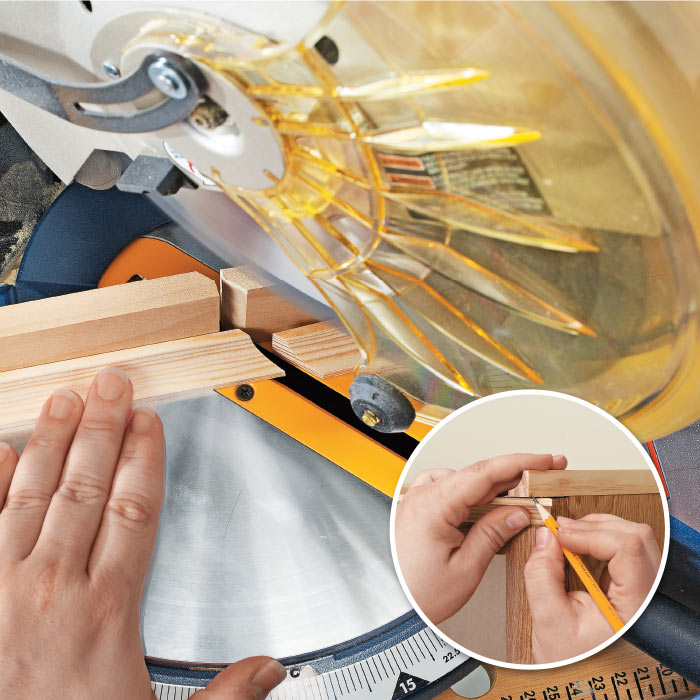
Start by cutting the trim pieces slightly longer than needed. Fit the trim against the cabinets and mark the miters (inset). Then cut the pieces to their final lengths with a miter saw.

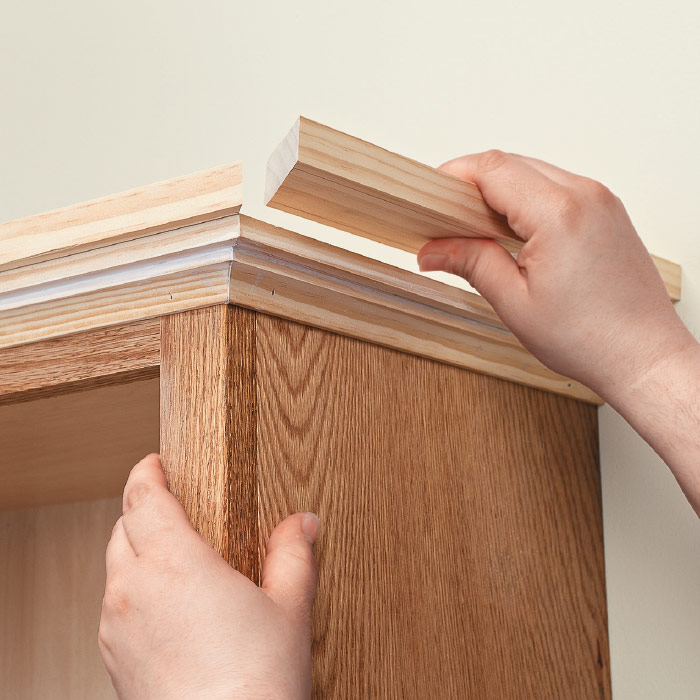
Attach the trim pieces to the cabinets with nails. This process will go much faster if you use an air-powered nail gun. Apply paintable caulk to the trim pieces as you attach them (inset). The caulk will help fill in gaps and give you a seamless look once the cabinets are painted.
Finish off the trim by adding a cap to the top. Cut the pieces to size, and then drive nails down through the cap to attach it to the cabinet.
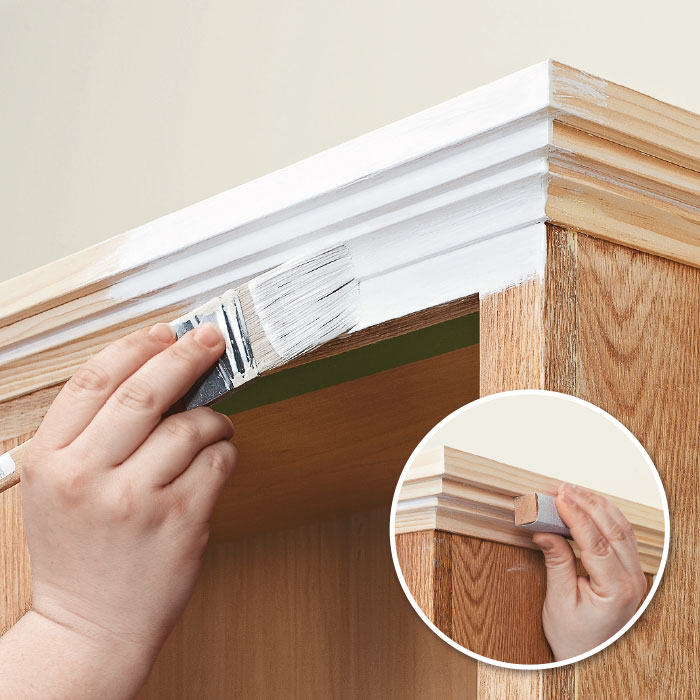
Once all of the pieces are attached and the caulk is dry, sand the cabinet (inset). Use a small block of wood wrapped with sandpaper to sand details. Then prime the cabinets, and allow them to dry.
Complete the project by applying oil-based paint to the cabinets. Sand the cabinets between coats to ensure a smooth finish. Apply a clear coat, and then you’re ready to enjoy your refreshed kitchen.