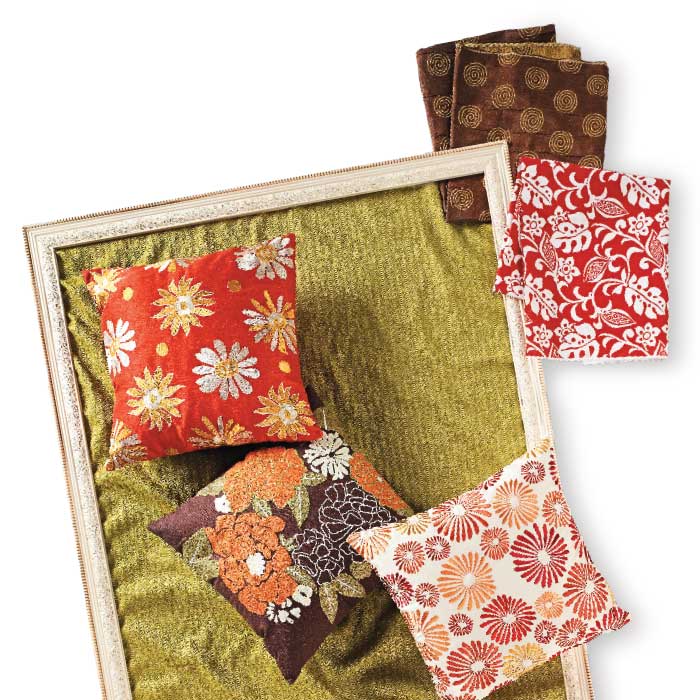
You don’t have to be artistically inclined to create wall art that brings your personality into the room. In fact, if you can fold fabric and use a staple gun or a glue gun, then you already have the skills you need to create great-looking wall panels.
Art Made Easy. We started with ½” birch plywood and some polyester batting. The plywood can be cut to any size you would like to fit your space. Plus, the fabric can come from almost any source, such as the fabric store or even a disassembled throw pillow. You’ll also need some decorative molding to create a frame for your panel.
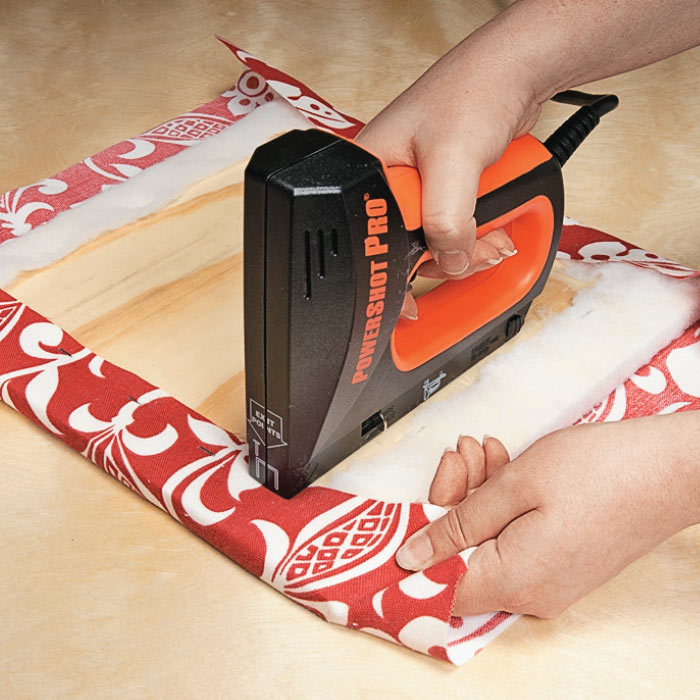
After cutting the plywood to your desired size, you’re ready to attach the batting and fabric. Position the batting and fabric so that an equal amount overlaps on all sides. For thick fabrics, it’s best to use a staple gun like the one shown here. For thinner fabrics, a hot glue gun will provide a secure connection between the materials.
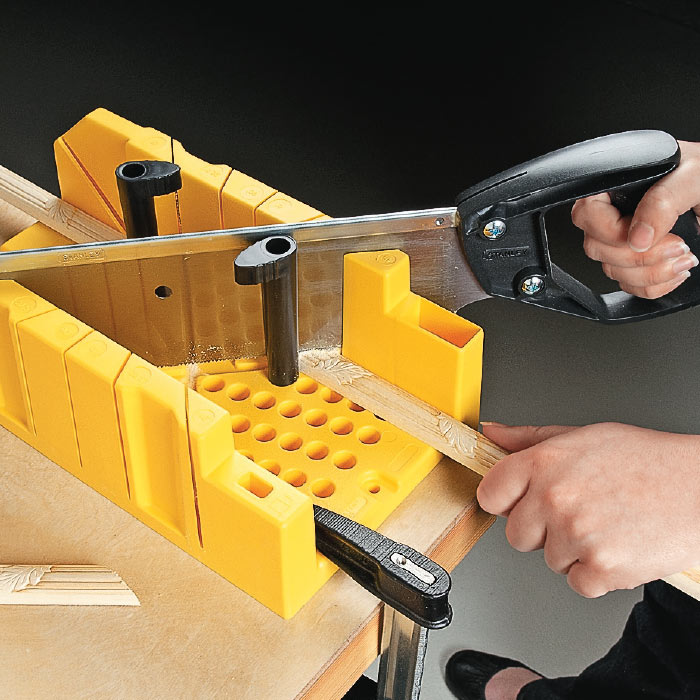
Once the fabric and batting are attached, you’re ready to embellish the panel with molding. A simple miter box and saw can be used to cut the molding for this small project. The miter box guides the blade to help you make your cuts at the correct angle.
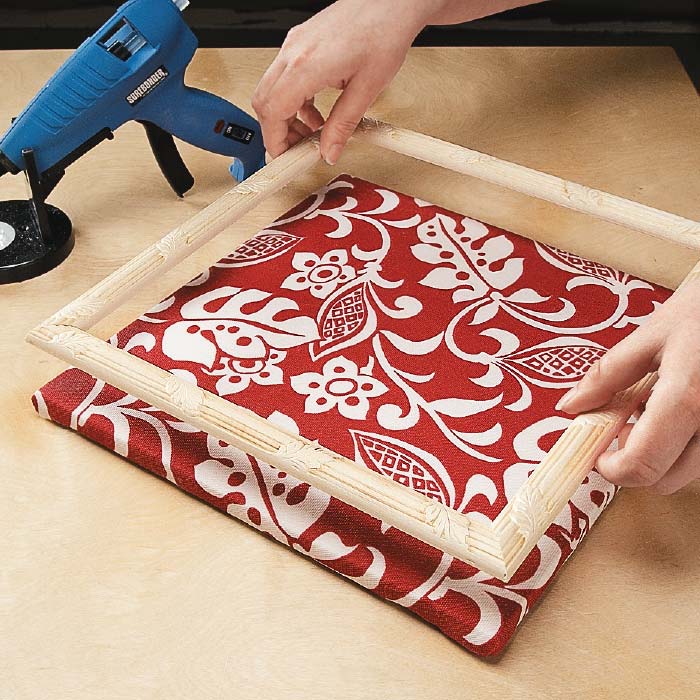
Test-fit all of the molding pieces, and then apply hot glue to the ends and connect the pieces to form a frame. Turn the frame over and apply a generous bead of hot glue to the back. Then press the frame down firmly in place on the panel.
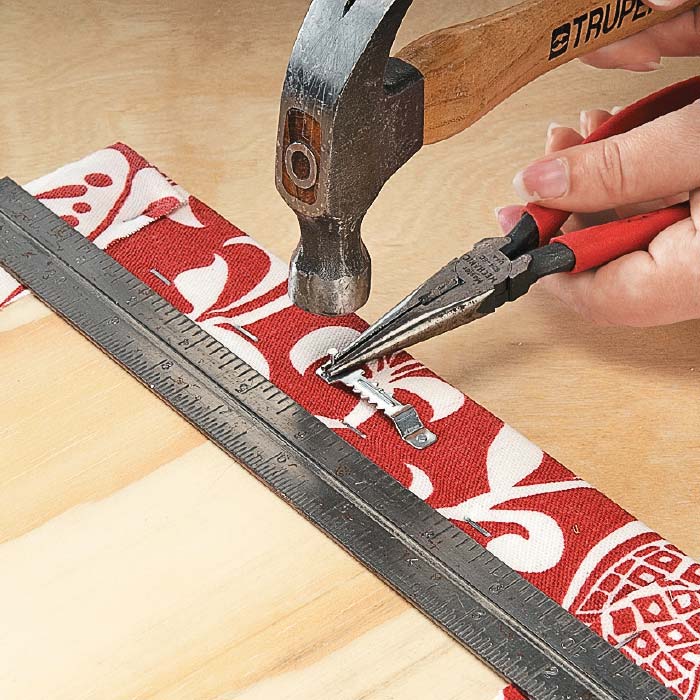
After the frame has been secured, attach the hanger of your choice on the back of the panel. Protect your fingers by holding the brads in place with needle-nose pliers as you pound them into the back of the panel.
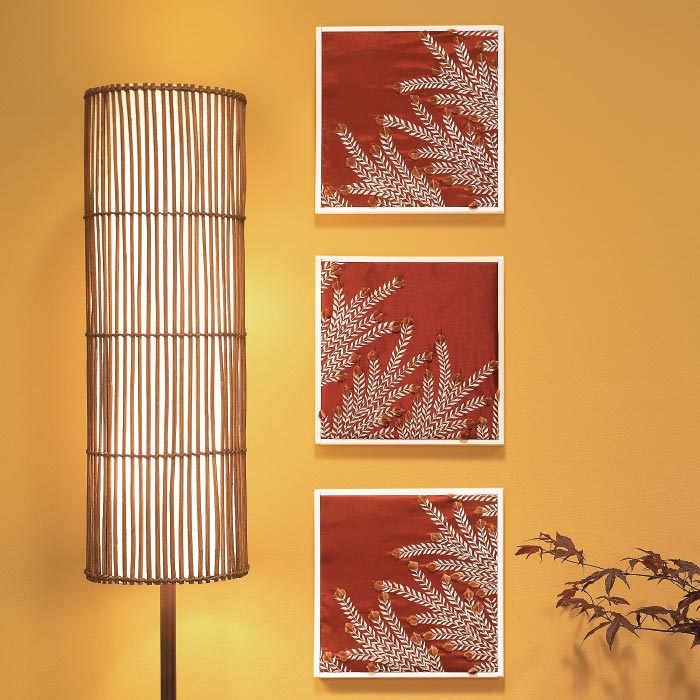
There’s no limit to the possibilities when you create your own wall decor. You can make multiple panels to fill a wall, or even experiment with different frames or edge treatments to get exactly the look you want.