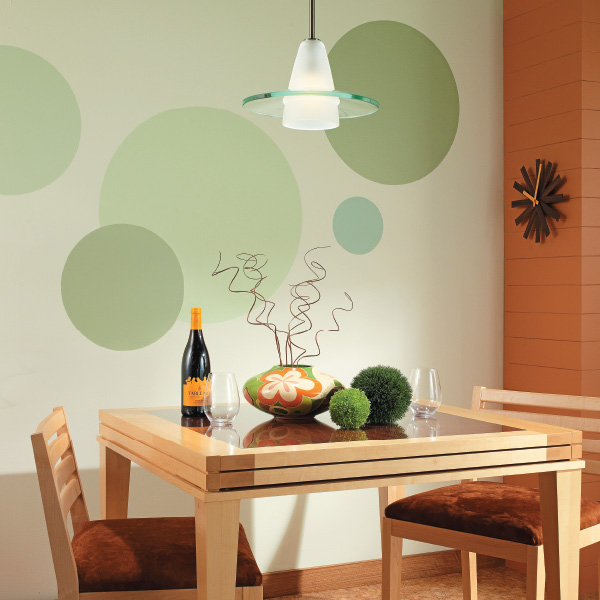
Sometimes seeing spots is a good thing – especially when you’re adding interest to a boring wall. Painted circular designs can easily infuse any room in your home with color, pattern, and personality.
Going in Circles. It’s simple to create circles in any size that you want, and then arrange them to work for your wall. Continue through the slides to learn our easy technique for making a template and using it to create the design.
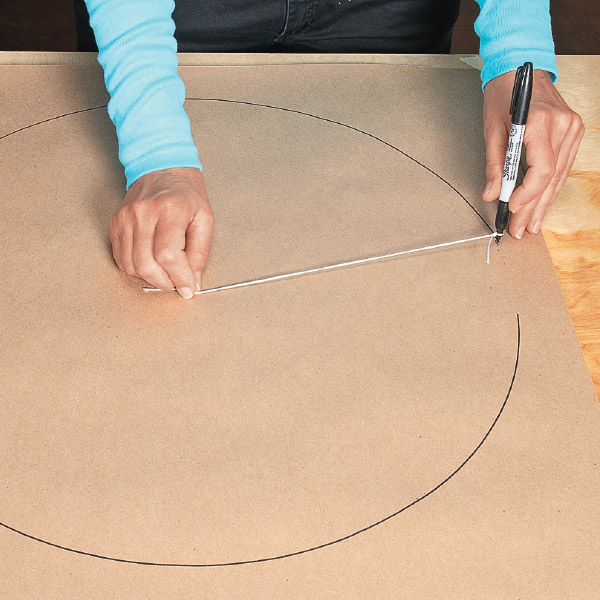
To get started, you’ll make a paper pattern for each circle. Poke a tack through a piece of paper, roughly in the middle of the sheet. Turn the paper over, and then slip a length of string over the sharp end of the tack. Tie a marker to the opposite end of the string. Holding the tack with one hand and the marker with the other, rotate the marker around the paper to draw a circle. When you have created templates in the sizes you want, cut them out.
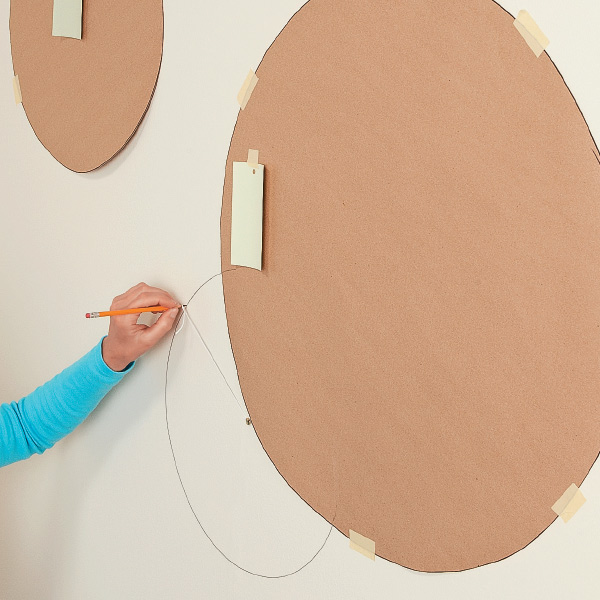
Once you have mastered drawing perfect circles, you can decide on the arrangement. The paper templates will help you envision different designs before you commit to marking the wall. When you’re happy with the arrangement, use the tack-and-string technique to draw the circles on the wall with pencil.
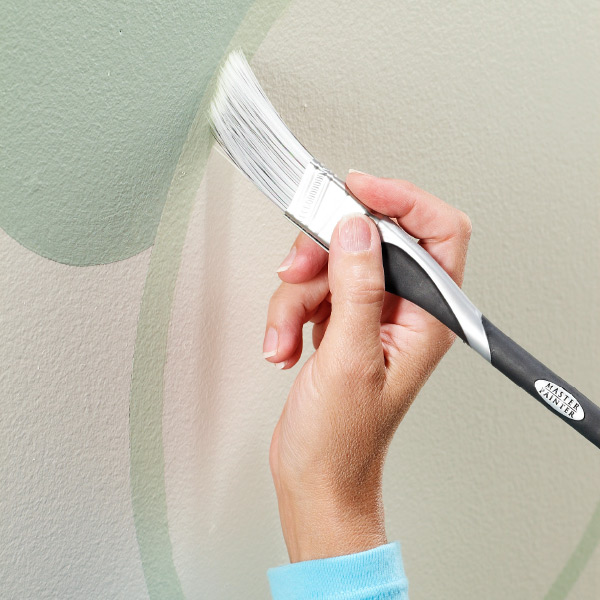
When you have finished the design, you can start painting. Use a 1” tapered brush to outline the edges of the circles. The brush’s tapered shape helps handle the curves.
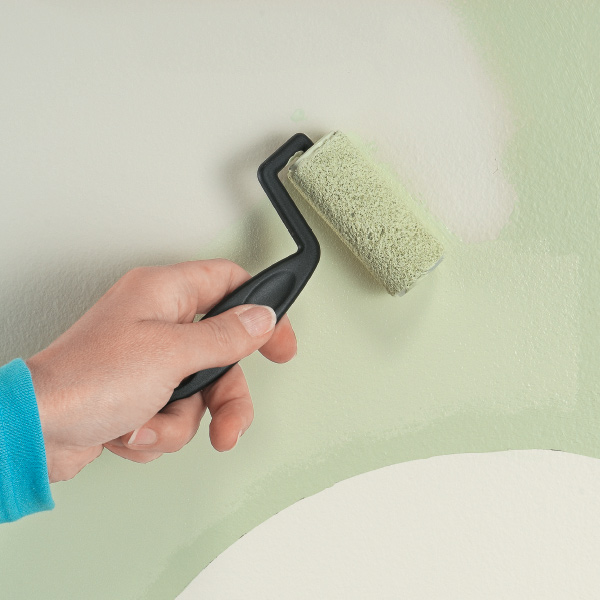
You’ll want to fill in the center with paint while the outer strip is still wet. Foam mini-rollers work perfectly for filling in these sections of the circles. They’re available in the paint aisle at the home center or any craft store.