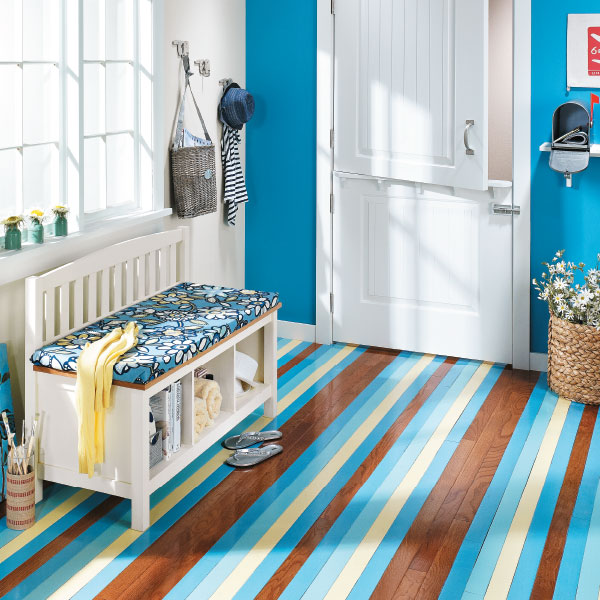
Paint can rescue wood floors that have become worn over the years. Often, damaged floors aren’t good candidates for staining and clear-coating, but they certainly look striking when puttied and painted.
Super-Simple Stripes. Our striped pattern lets you choose three colors that complement the rest of your room’s decor. Some floorboards are left unpainted, so the beauty of natural wood shines through. The design is especially easy to replicate because each board gets entirely painted in one color, and the stripes are separated by the lines between boards.
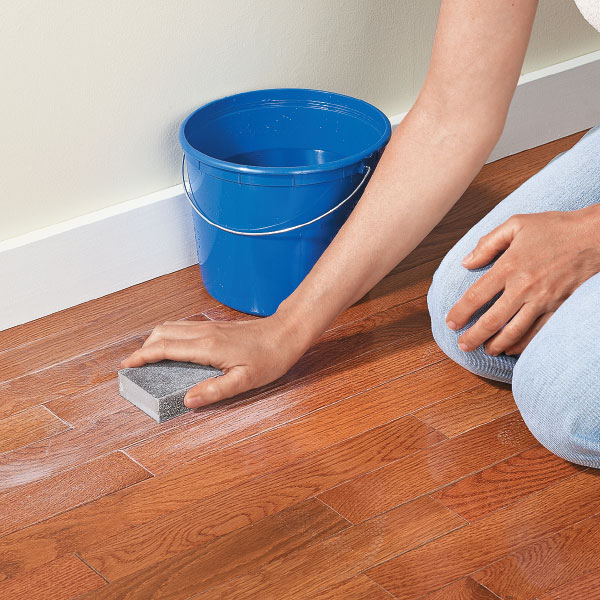
Start by filling any gouges or chips with wood filler. After that, lightly sand the entire floor with 150-grit sandpaper and a sanding block. Be sure to sand all the way up to the baseboards and into the corners.
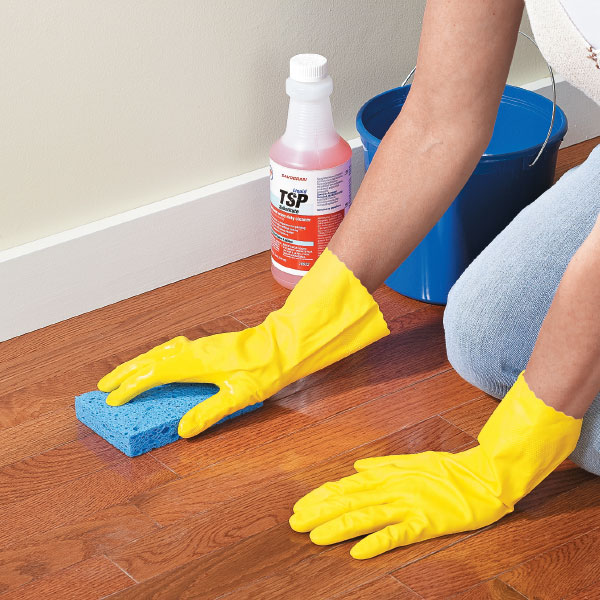
After you sand the floor, vacuum up the dust. Then scrub the entire surface with a solution of TSP Substitute. Let it dry for at least 24 hours before continuing the project.
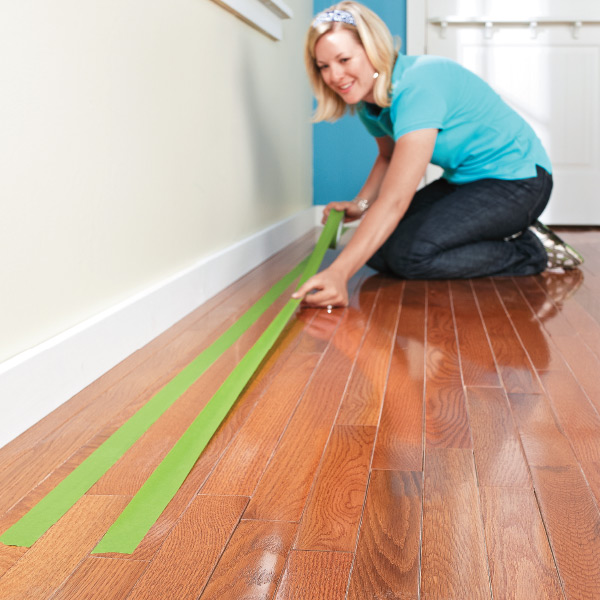
Now you can mask the first set of stripes. When masking a floorboard, just place painter’s tape next to the joint on either side of it. To help keep the tape straight, unroll a fairly long section before you position it. Then use a putty knife to burnish the tape’s edges.
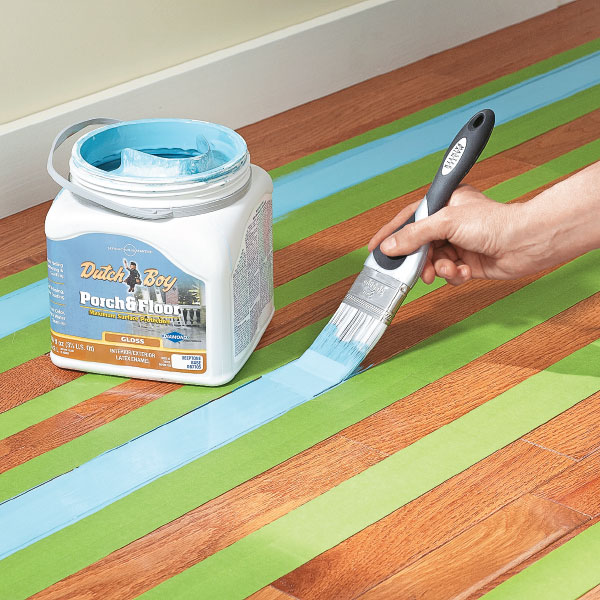
This project requires tintable, self-priming latex enamel that’s meant for use on floors. Use a 2½” brush to apply the paint – it won’t leave small “dimples” in the glossy finish like a roller would. Be sure to keep a wet edge as you work.
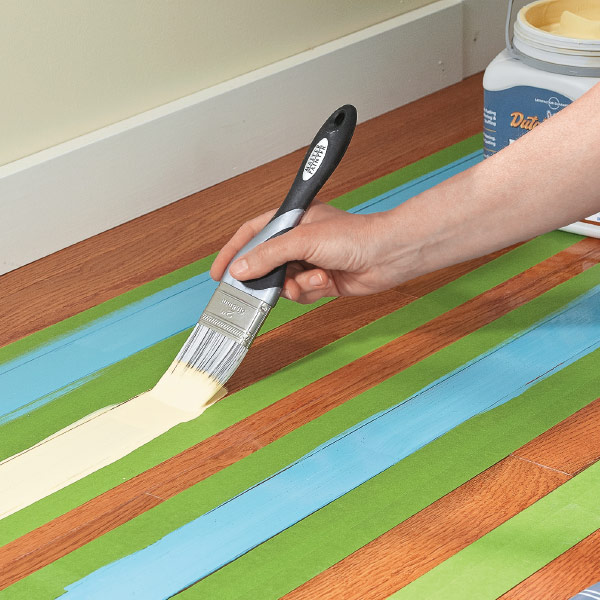
Now move on to the next color. Sometimes you will need to mask on top of an already painted strip, so allow at least four hours of drying time between color changes. When you’re done painting, you’ll want to give the plain wood stripes a glossy sheen. Brush a coat of clear gloss polyurethane over the wood stripes only to complete the project.