
If you’re tired of the average stepping stone, you no longer have to settle for boring. A wide array of materials are available that allow you to create one-of-a-kind, eye-catching stepping stones.
Gather Your Materials. We cast our stones using “Vinyl Concrete Patcher,” which costs more than some varieties but produces a smooth surface. Dyes can be purchased in powder or liquid form, and then stirred into the concrete. You’ll also need molds or shallow containers to cast the stones, and pebbles, tiles or other embellishments.
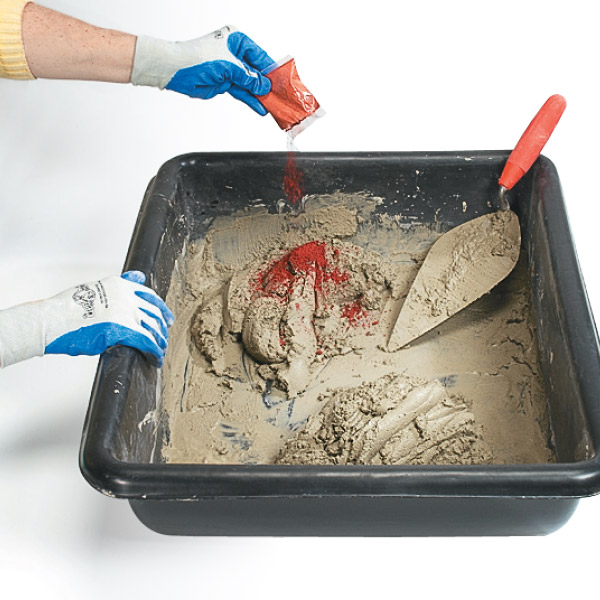
We wanted our stones to have a variegated look. To achieve this, mix the concrete per the instructions. Add powdered dye to only half. After thoroughly mixing the dye with this half, transfer the tinted and untinted portions to your mold.
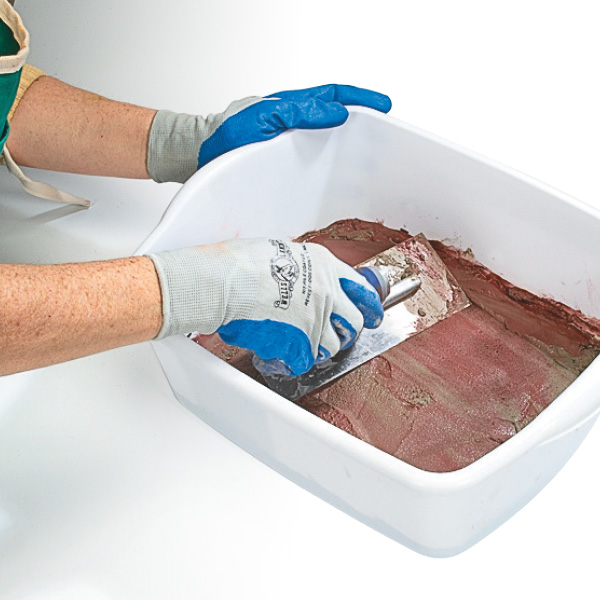
The concrete should be two to three inches deep. Gently mix two colors together until you achieve the desired look. Smooth flat with a trowel.
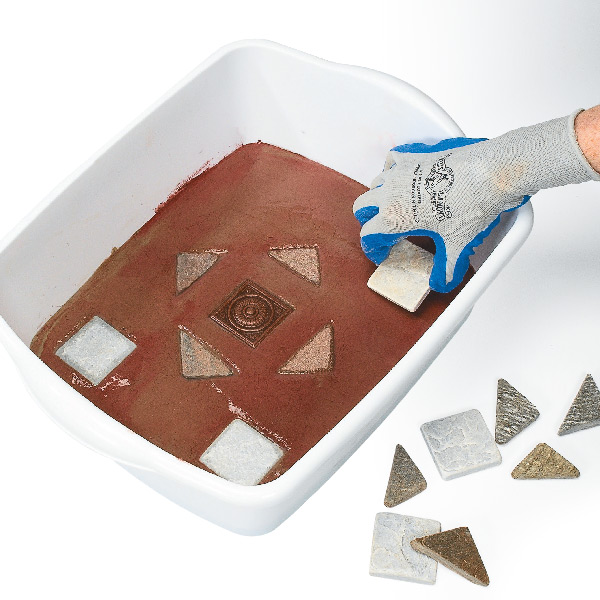
To add visual interest to the stepping stones, we selected mosaic tiles at the home center. We pulled the tiles off their mesh backing and arranged them in a simple pattern. You’ll need to press and wiggle each tile until it is flush with the surface of the concrete mixture.
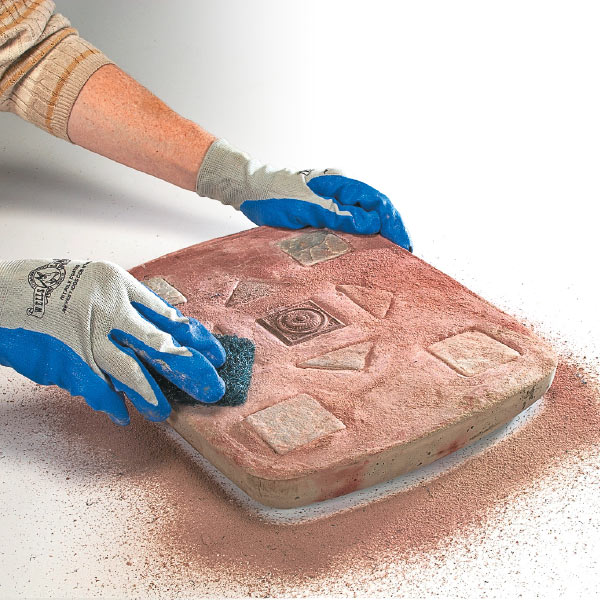
Let the stepping stone dry overnight. Then free the stepping stone from the mold. Be sure to support the stone with one hand as you invert the mold to avoid breakage.
During the curing process, a thin film of dye may dry on the stone’s surface, which obscures the variegated effect. Just buff it off with an abrasive pad to reveal a clean surface.
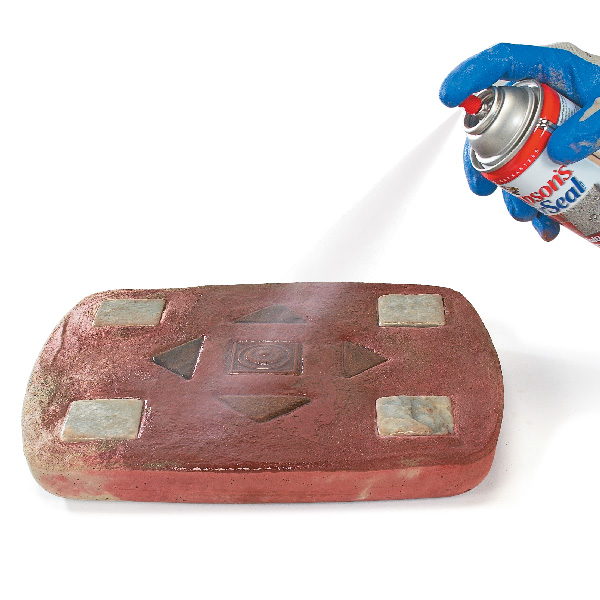
Spray on a coat of Water Seal to protect the surface. Let the stones cure for three days before placing them in the ground.