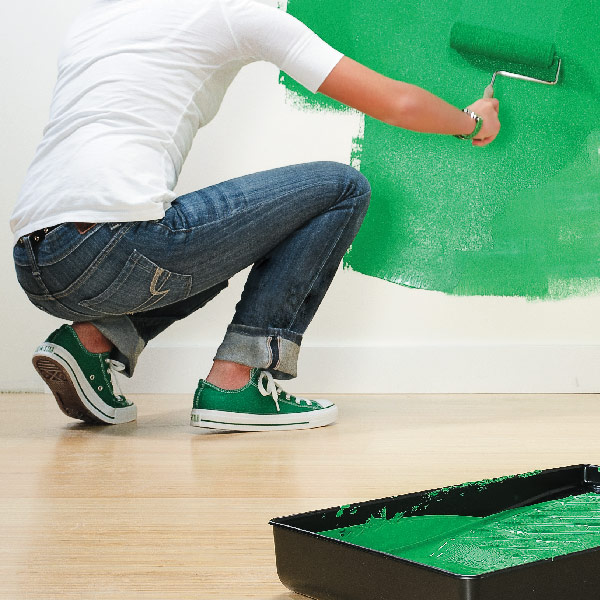
Rolling on paint isn’t a difficult job, but it still requires a bit of finesse. By following these tips, you’ll be well on your way to a smooth painted finish that’s free from roller marks.
Choosing Rollers. The first step is to start with the right roller for the paint sheen that you plan to use. The guidelines here will help you pick a roller that will work for your project.
• Flat: 1/2” – 3/4” Nap
• Eggshell or Satin: 3/8” Nap
• Semi-Gloss: 1/4” – 3/8” Nap
• Gloss: 3/16” – 1/4” Nap

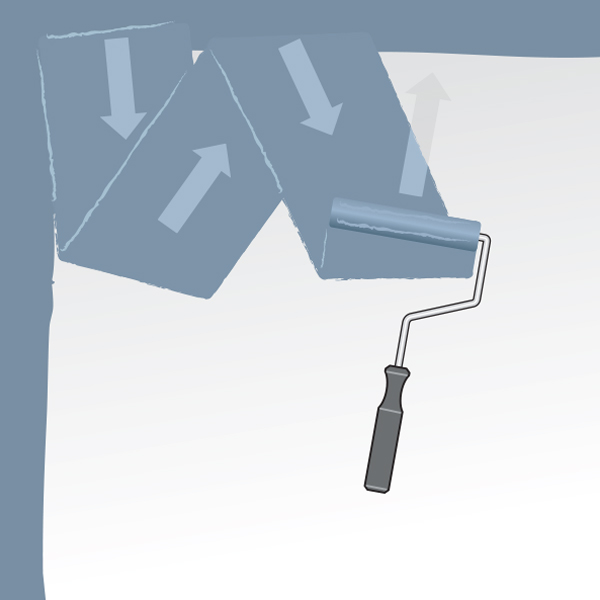
A roller won’t give you a clean line at ceilings and around obstacles, so start by cutting in with a paintbrush. Your first pass will likely leave brush strokes, so make a second pass to smooth everything out. Then begin rolling on the paint as shown in the illustration.

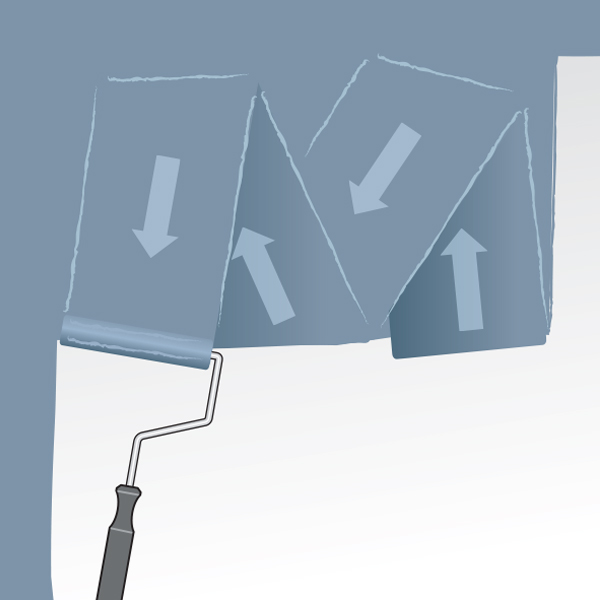
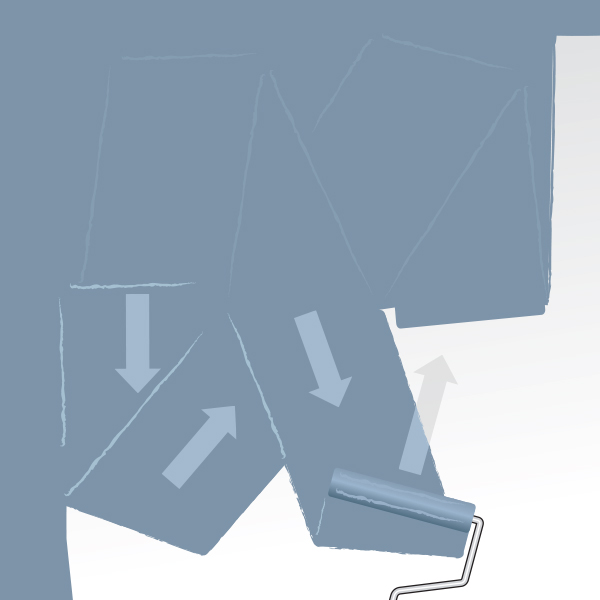
Many paint experts suggest rolling in a “W-shaped” pattern, but it’s really more important that you overlap strokes rather than trying to form a perfect W. Roll in square areas that are 3-ft. to 4-ft. wide.

Make overlapping strokes, completely unloading the roller. Fill in the smaller section before moving on to the next, rolling back into the still-wet section you just painted. The result is more uniform paint coverage across the entire wall.