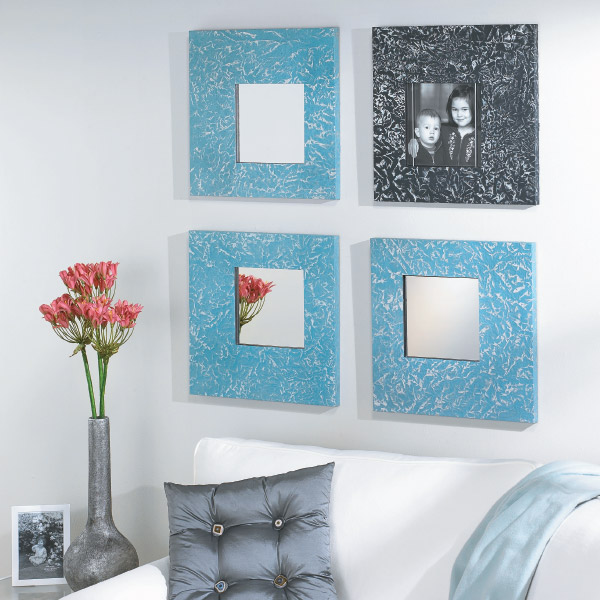
Most frames are simply intended as backdrops to the photos, art, or mirrors they surround. But in this project, the focus shifts to the frames themselves. These frames are covered with art paper that produces a unique look without any complicated painting or finishing techniques.
Paper Possibilities. If you aren’t familiar with art paper, you’ll want to be. It’s made in an almost endless array of styles, patterns, and colors. We chose a simple but stylish pattern of blue with metallic accents.
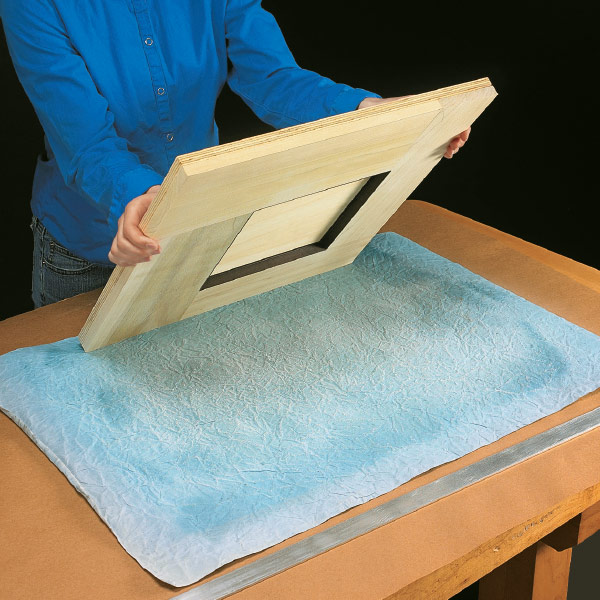
Start by spraying the frame and the paper with adhesive, and then lay the frame down on the paper. The adhesive will bond almost instantly, so take care not to wrinkle the paper.
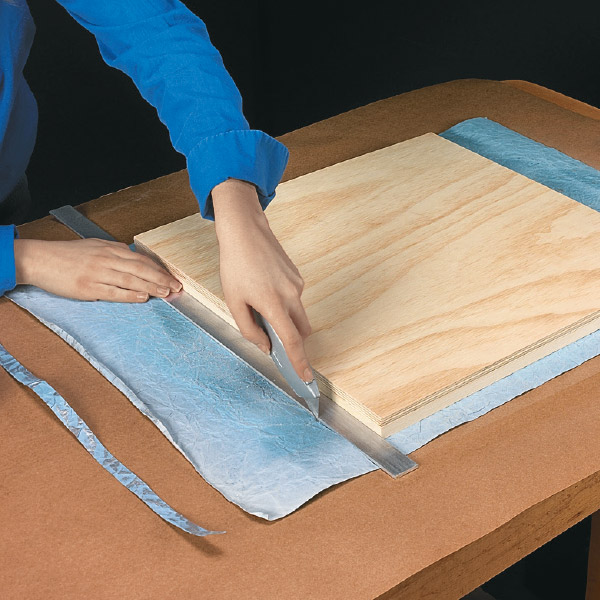
Use a sharp utility knife and a 1”-wide spacer to cut off the excess paper and create the flaps that will wrap the edges. Then cut a slit at each corner that’s aligned with the inside edge of the spacer.
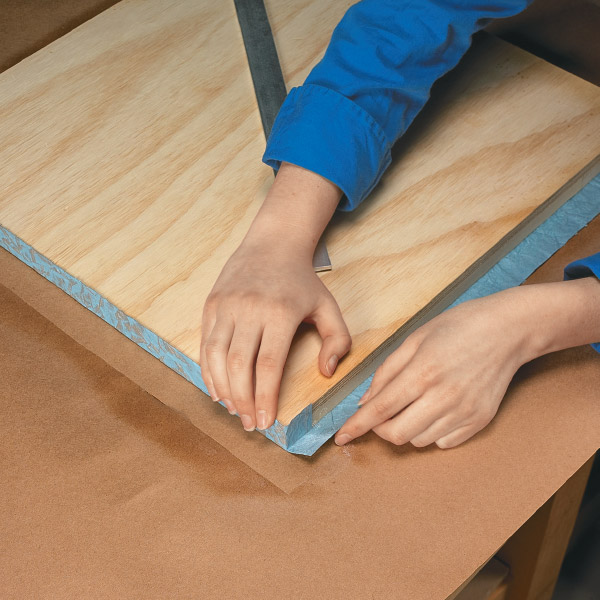
After a fresh coat of adhesive, wrap the edges. Start with the flapped edges. Then overlap the flaps on the mating edge.
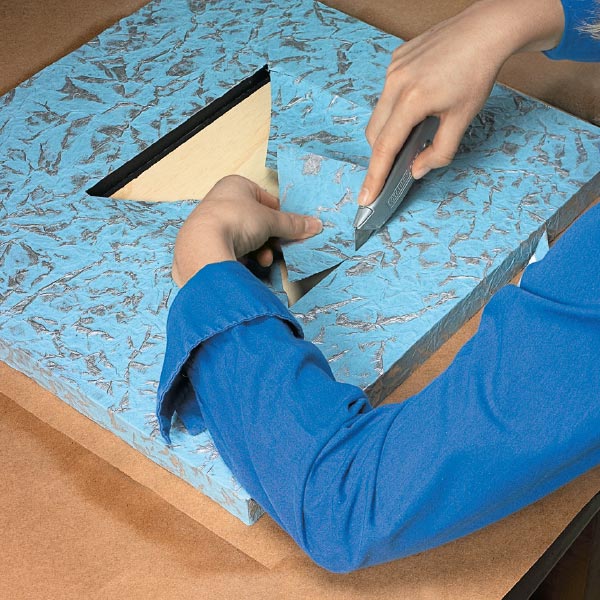
On the face of the frame, slit an “X” in the paper. Then hold the side of the blade against the frame to trim off the waste.