Removing (and replacing) a window screen in an old-style window is a much easier project than you might expect. That’s because the screens are just stapled onto the screen frame.
Simple Swap. If you look at an old window, you’ll notice that the screen edges and staples are hidden with thin wood retaining strips, often called screen molding. The first step in this repair is to pry up the molding strips. We’ll show you how to do this (and the rest of the steps) on the slides that follow.

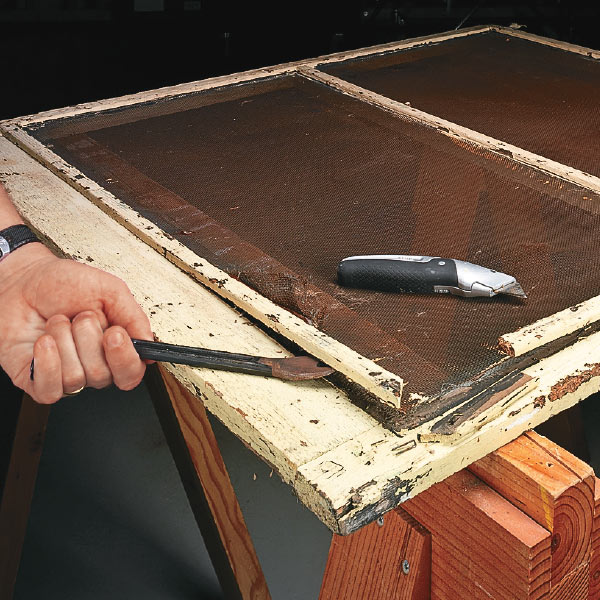
The first step is to remove the old molding strips. Just insert a putty knife under each one to loosen it, and then pull it up with a cat’s paw tool or a small pry bar. The strips can be fragile, so lift gently and only around the nails that hold them in place. If the molding does break, though, you can buy new screen molding at the home center and cut it to size. Once all of the molding strips have been removed, pull out the staples that hold the screen in place.

If the screen frame needs new paint, now is the perfect time to put on a fresh coat. Then, to install the new screen, just lay an oversized piece of screen fabric over the frame. Staple it in place along the top edge, making sure to place the staples where they’ll be covered by molding.
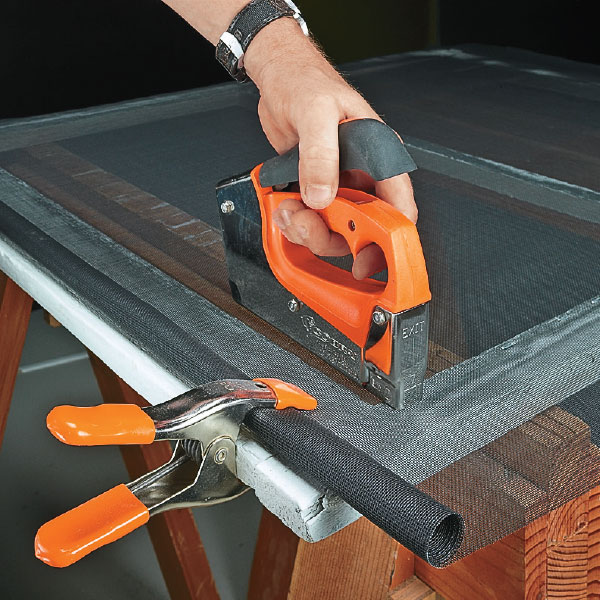
Wrap the other end of the screen fabric around a narrow board or a dowel, pull the screen taut, and then clamp it in place. Then staple down one side of the screen. Pull gently as you staple the other side and finish up with the bottom edge.

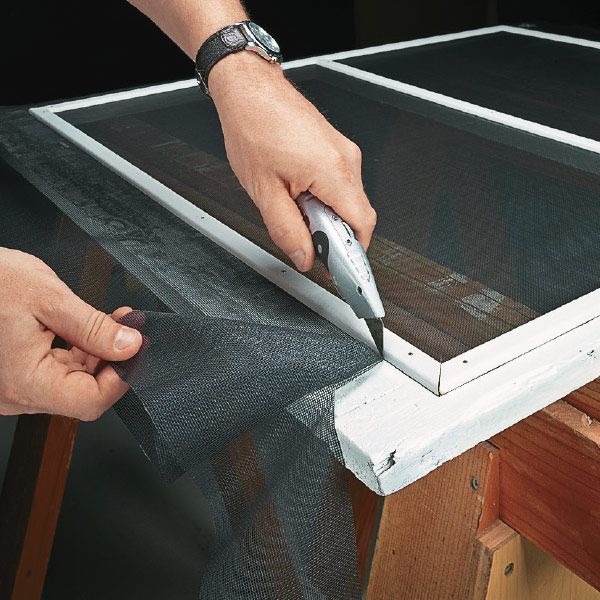
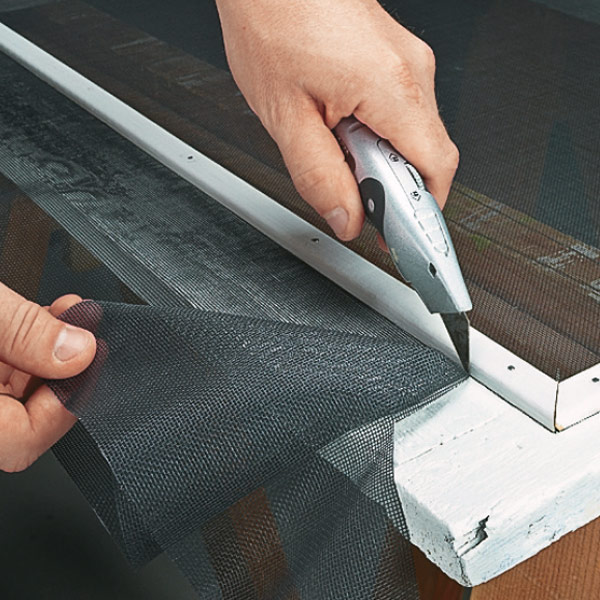
Next, you can install the molding strips using small brads. To prevent the molding from splitting, pre-drill holes for the brads using a small bit or a nail. Finally, use a utility knife to trim the screen flush with the outside edges of the strips.