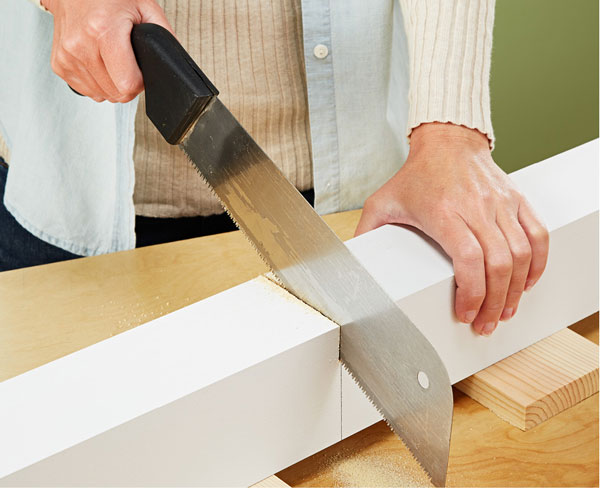
With a hand was, cut the porch post to length. Mark where you need to cut on all sides, then work your way around with the saw. Don't worry if the cut isn't perfect, the cap you'll add later will hide the sawed end.
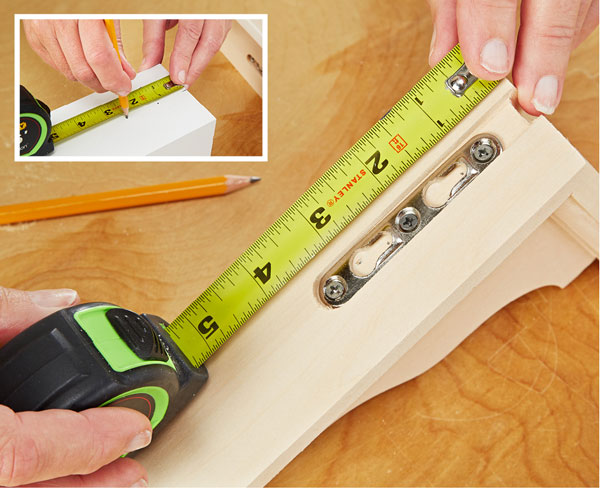
Measure where the screws on the porch post will line up with mounting spaces on the wood brackets. Then measure and mark those locations on the post.
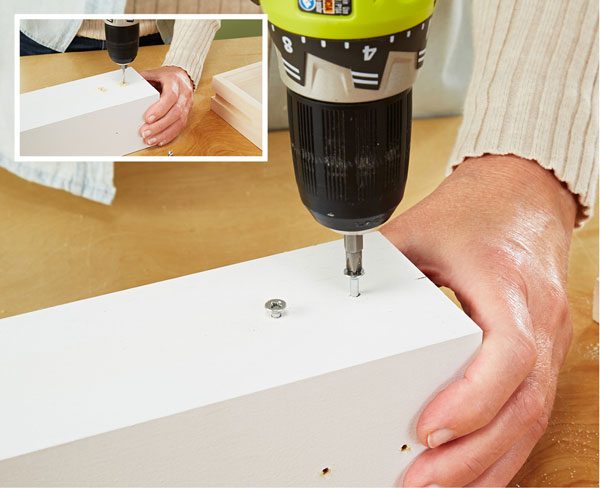
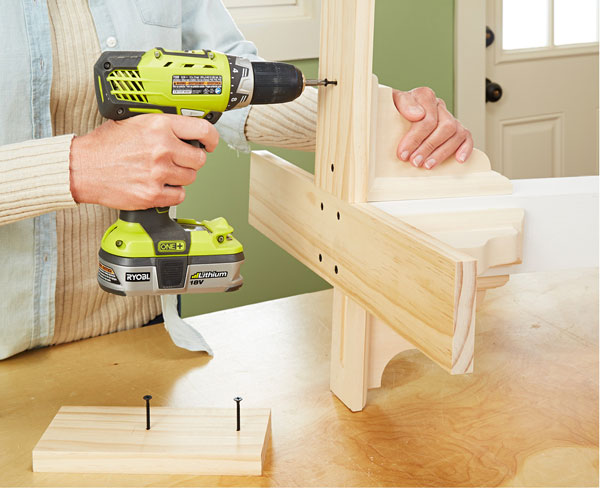
Drill two pilot holes, the marked locations on each side of the post. Use a power drill to install the screws. Don't drill them in all the way though — leave room to slide the wood brackets on the post.
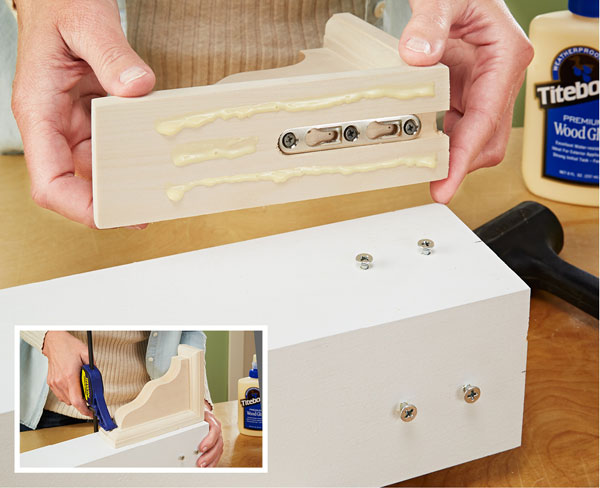
Test the placement of the wood brackets first. If the brackets and bottom of the post are flush, apply wood glue to the brackets, slide the brackets into place, and clamp them to the post.
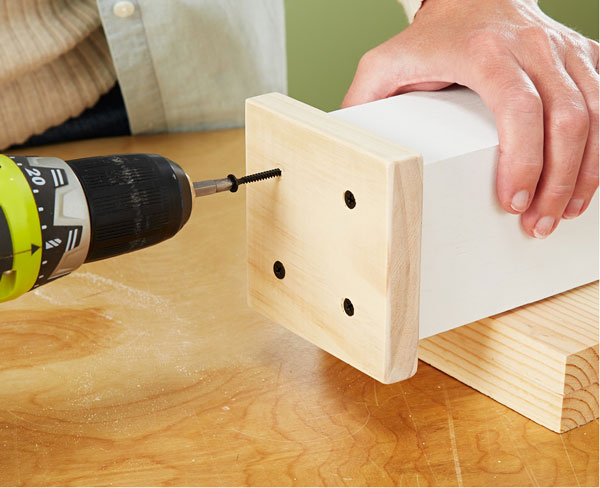
Feet cut from 1x4s will help give the coat tree more stability. The feet extend several inches further than the wood brackets. First, drill pilot holes in the feet, then attach them to the bottom of the brackets.
One of the finishing touches on the coat tree is a decorative cap. The cap is 3½" x 3½", cut from a piece of 1x4. Just glue and screw the cap onto the sawed end of the porch post.
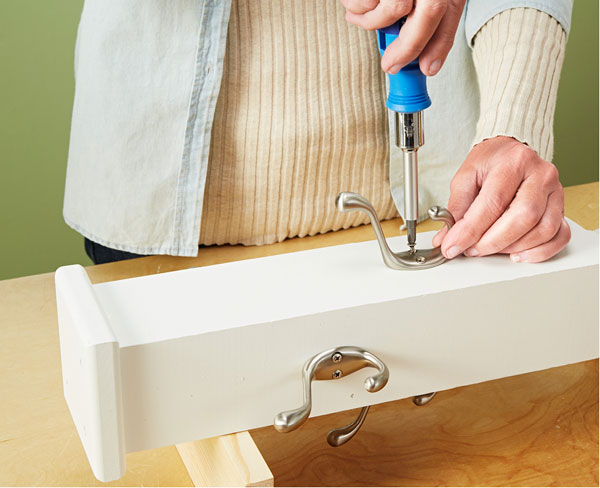
After you've primed and painted the coat tree, you can add the hooks. Choose any style of hooks you like, position them around the post, and screw them into your coat tree.